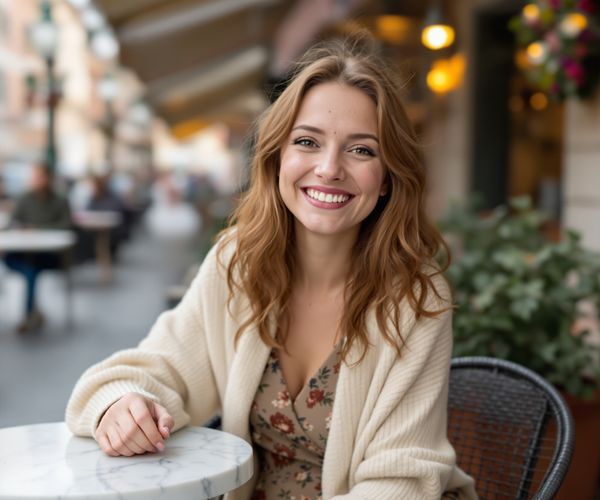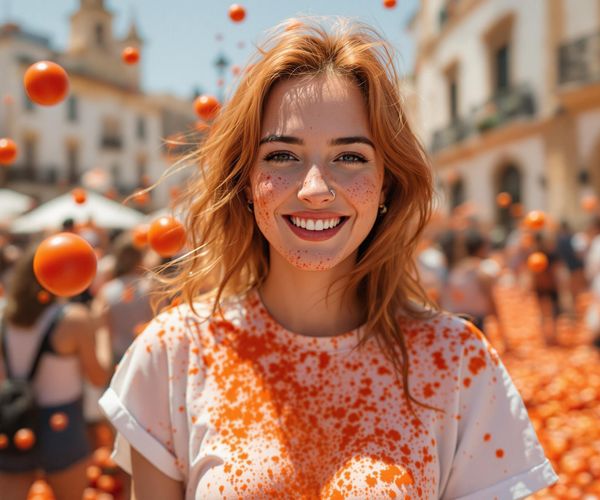
As a travel enthusiast and avid photographer, I've learned that capturing the essence of a place goes beyond just snapping a picture. It's about telling a story, preserving a memory, and sharing a unique perspective. Over the years, I've honed my skills and developed a few go-to techniques that have significantly improved my travel photography. Whether you're a seasoned pro or just starting out, I hope these tips will inspire you to capture stunning memories on your next adventure.
Choosing the Right Gear for Your Travel Photography
One of the first questions I get asked is, What's the best camera for travel? The truth is, there's no one-size-fits-all answer. It really depends on your budget, skill level, and what you want to achieve with your photography. Let's break down some options:
- Mirrorless Cameras: These are my personal favorite due to their compact size and impressive image quality. Brands like Sony, Canon, and Nikon offer excellent mirrorless options.
- DSLR Cameras: DSLRs are still a solid choice, especially if you already have a collection of lenses. They offer great versatility and are known for their robust build.
- Smartphone Photography: Don't underestimate the power of your smartphone! Modern smartphones have incredible cameras that are perfect for casual travel photography. Plus, they're always with you.
Next up, lenses. If you're serious about travel photography, investing in a good lens (or two) is crucial:
- Wide-Angle Lens: Perfect for capturing landscapes and architectural shots. I love using my wide-angle lens to convey the vastness of a scene.
- Zoom Lens: A zoom lens is great for capturing distant subjects or details that you can't get close to. It's a versatile option for wildlife and street photography.
- Prime Lens: Prime lenses have a fixed focal length and are known for their sharpness and low-light performance. A 35mm or 50mm prime lens can be a fantastic choice for everyday travel photography.
Finally, don't forget about essential accessories:
- Tripod: A lightweight travel tripod is essential for capturing sharp images in low-light conditions or when you want to use a slow shutter speed.
- Filters: Polarizing filters reduce glare and enhance colors, while ND (neutral density) filters allow you to shoot with a wider aperture in bright light.
- Extra Batteries and Memory Cards: Trust me, you don't want to run out of power or storage space in the middle of a shoot!
- Camera Bag: A comfortable and functional camera bag is essential for protecting your gear while you're on the go.
I remember once being in Iceland, attempting to photograph the Northern Lights. I had forgotten my tripod, and the shots were coming out blurry. I ended up using my camera bag as a makeshift support, which worked in a pinch, but definitely wasn't ideal! Since then, a tripod is ALWAYS in my bag.
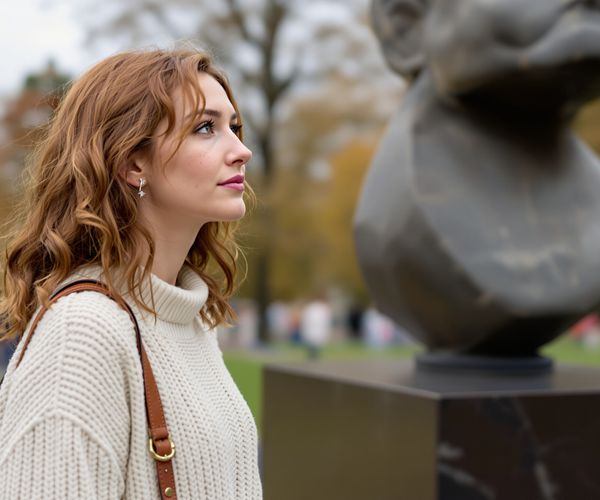
Understanding Composition: Framing the World Through Your Lens
Composition is key to creating visually appealing and engaging photographs. Here are a few techniques that I use regularly:
- Rule of Thirds: Imagine dividing your frame into nine equal parts with two horizontal and two vertical lines. Place your key subjects along these lines or at the points where they intersect. This creates a balanced and visually interesting composition.
- Leading Lines: Use natural or architectural lines to draw the viewer's eye into the scene. Roads, rivers, and fences can all be used as leading lines.
- Symmetry and Patterns: Look for symmetry and repeating patterns in your surroundings. These elements can create a sense of order and visual harmony.
- Adding Depth: Use foreground elements to create a sense of depth and scale in your images. This can be anything from flowers and rocks to people and buildings.
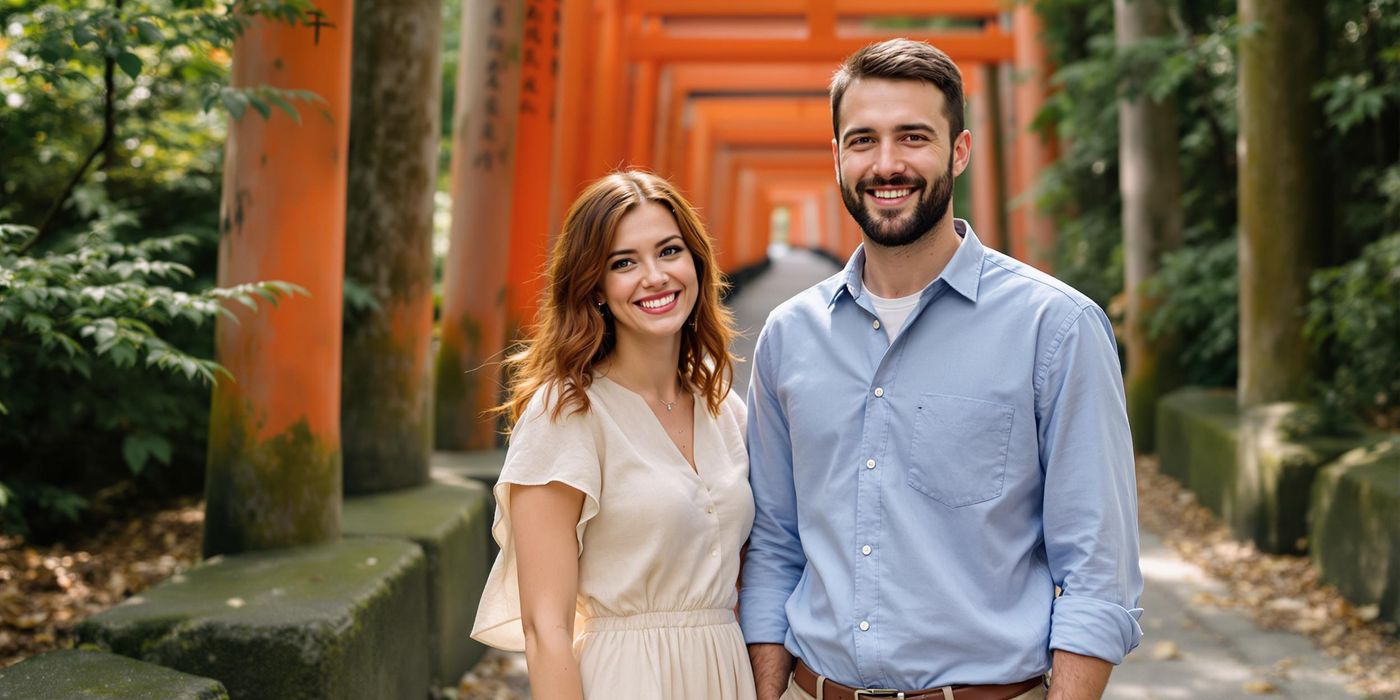
I once visited Kyoto, Japan, and was blown away by the beauty of the Fushimi Inari Shrine, with its thousands of vibrant red torii gates. By using the leading lines of the path and the repeating patterns of the gates, I was able to capture a photo that truly conveyed the scale and grandeur of the scene.
The Importance of Light: Capturing the Perfect Moment
Light is everything in photography. Understanding how light works and how to use it to your advantage can make a huge difference in your photos.
- Golden Hour: The hour after sunrise and the hour before sunset are known as the golden hour. During this time, the light is soft, warm, and flattering. It's the perfect time to capture stunning landscapes and portraits.
- Dealing with Harsh Midday Light: Shooting in harsh midday light can be challenging, but not impossible. Look for shade, use a polarizing filter, or try shooting in black and white.
- Utilizing Natural Light Indoors: When shooting indoors, make the most of available natural light. Position your subject near a window and use reflectors to bounce light where needed.
- Understanding Different Light Sources: Pay attention to the different light sources around you, such as the sun, artificial lights, and ambient light. Each light source has its own unique characteristics that can affect the look and feel of your photos.
I remember being in Marrakech, Morocco, and waking up early to capture the sunrise over the city. The light was absolutely magical, bathing the buildings in a warm, golden glow. It was one of those moments where everything just came together perfectly.
Telling a Story: Capturing the Essence of a Place
Travel photography is about more than just capturing pretty pictures. It's about telling a story and conveying the essence of a place. Here are some tips for doing just that:
- Researching Local Culture: Before you even pick up your camera, take the time to research the local culture, customs, and traditions. This will help you to be more respectful and sensitive in your photography.
- Capturing the Details: Pay attention to the small details that make a place unique, such as the local cuisine, architecture, and street life.
- Single Shot vs Multiple Images: Think about whether you want to tell your story in a single, powerful image or through a series of images that capture different aspects of the place.
- Adding People to Your Photos: Including people in your photos can provide scale, context, and human interest. Ask for permission before photographing people, and be respectful of their privacy.
When I visited India, I was struck by the vibrant colors, the bustling markets, and the warm hospitality of the people. I tried to capture all of these elements in my photos, telling the story of my experience through a series of images that showcased the beauty and diversity of the country.
Post-Processing: Enhancing Your Images Without Losing Authenticity
Post-processing is an essential part of the photography workflow. It allows you to fine-tune your images and bring out their full potential. However, it's important to strike a balance between enhancement and authenticity.
- Basic Editing Techniques: Adjust exposure, contrast, highlights, and shadows to improve the overall look of your images.
- Color Correction: Balance the colors to create a natural and appealing look. Pay attention to white balance and color temperature.
- Sharpening and Noise Reduction: Enhance detail while minimizing noise. Be careful not to over-sharpen your images, as this can create unwanted artifacts.
- Using Editing Software: There are many user-friendly mobile and desktop editing apps available, such as Adobe Lightroom, Snapseed, and VSCO.
I personally use Adobe Lightroom for most of my post-processing. I like to start with basic adjustments, such as exposure and contrast, and then fine-tune the colors and details. My goal is always to enhance the image without making it look artificial or over-processed.
Travel photography is a journey of discovery, both of the world around us and of our own creative potential. By mastering these tips, you'll be well on your way to capturing stunning memories that you'll cherish for a lifetime. Happy travels, and happy shooting!
Essential tips for improving your travel photography skills, from composition to lighting, and how to capture the essence of your adventures.