Choosing the Right Gear: More Than Just a Camera
When it comes to travel photography, the right gear can make all the difference. But don't feel like you need to break the bank! The best camera is often the one you have with you. For beginners, I often recommend starting with what you're comfortable with. These days, smartphones have incredible cameras that are perfect for capturing great shots on the go.
If you're looking to upgrade, consider a compact camera or an entry-level mirrorless camera. Compact cameras are lightweight and easy to carry, while mirrorless cameras offer interchangeable lenses, giving you more flexibility as you improve. Interchangeable lenses really do open up a world of possibilities!
Speaking of lenses, a versatile zoom lens (like a 24-70mm equivalent) is a great all-around option. If you're into landscapes, a wide-angle lens (16-35mm) can capture those stunning vistas. And for portraits, a prime lens (35mm or 50mm equivalent) can create beautiful, creamy backgrounds.
I learned the hard way that lighter gear is better for long trips. On one of my first big trips to Italy, I lugged around a huge DSLR with multiple heavy lenses. By the end of the trip, my back was killing me, and I realized I had missed so many spontaneous photo opportunities because I didn't want to deal with the weight. Now, I prioritize lightweight gear that won't weigh me down. Trust me, your back will thank you!
Understanding Light: The Golden Hours and Beyond
Lighting is everything in photography. It can completely transform a scene and evoke different moods. The best time to shoot is during the golden hour, which is shortly after sunrise and before sunset. The light during these times is warm, soft, and magical. The blue hour, the period just before sunrise and after sunset, is also fantastic for capturing a different kind of mood, especially in cityscapes.
Don't despair if you're stuck shooting in the midday sun. You can still get great shots by using shadows creatively, especially in architectural photography. Look for interesting patterns and shapes created by the sun, and use them to add depth to your photos.
Understanding the direction of the sun is also crucial. Pay attention to how the light falls on your subject, and adjust your position accordingly. Polarizing filters can be a lifesaver for managing harsh light and glare, especially when shooting water or landscapes.
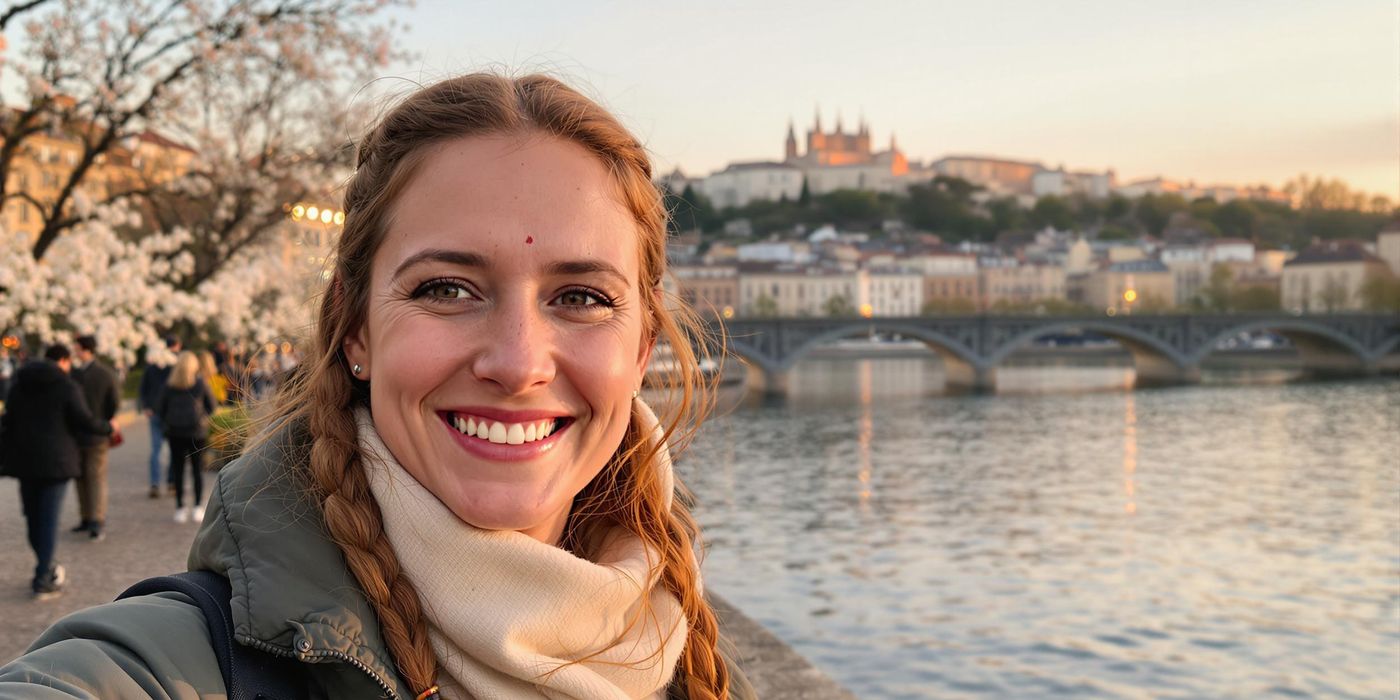
I remember waking up early one morning in Lyon to capture the sunrise over the Saône. The city was bathed in this incredible golden light, and the atmosphere was just magical. It was totally worth the early wake-up call, and the photos I took that morning are some of my favorites. Similarly, sunsets over the Rhône Valley are simply breathtaking!
Composition Techniques: Framing Your Story
Composition is how you arrange the elements within your frame to create a visually appealing image. There are several basic techniques that can help you improve your composition, such as the rule of thirds, leading lines, symmetry, and framing.
The rule of thirds involves dividing your frame into nine equal parts and placing your subject along those lines or at the intersections. Leading lines are lines that draw the viewer's eye into the photo, creating a sense of depth and movement. Symmetry can create a sense of balance and harmony, while framing involves using elements in the foreground to frame your subject, adding depth and context.
It's important to capture a mix of close-up, mid, and wide shots to tell a complete story. Close-up shots can capture details and emotions, mid shots provide context, and wide shots show the overall scene.
Don't be afraid to experiment with different angles and perspectives to find unique compositions. Get down low, climb up high, and try shooting from unexpected viewpoints. The more you experiment, the more you'll discover what works best for you.
I love using leading lines to capture the charm of Lyon's streets. The cobblestone roads and narrow alleyways are perfect for creating a sense of depth and drawing the viewer into the scene. Framing is another technique I use often, especially when photographing historical buildings. Archways and windows make great frames for adding context and highlighting the subject.
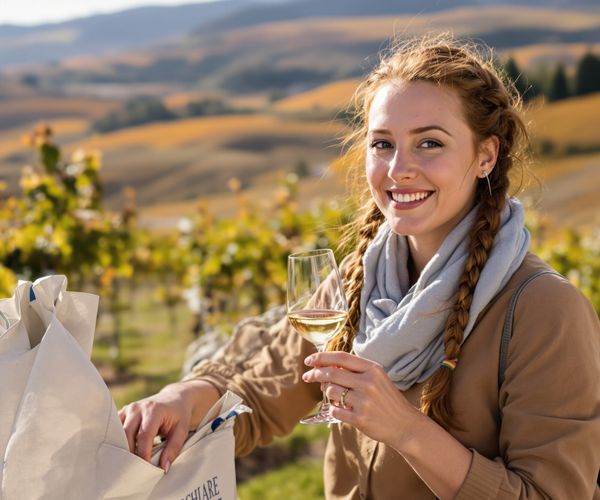
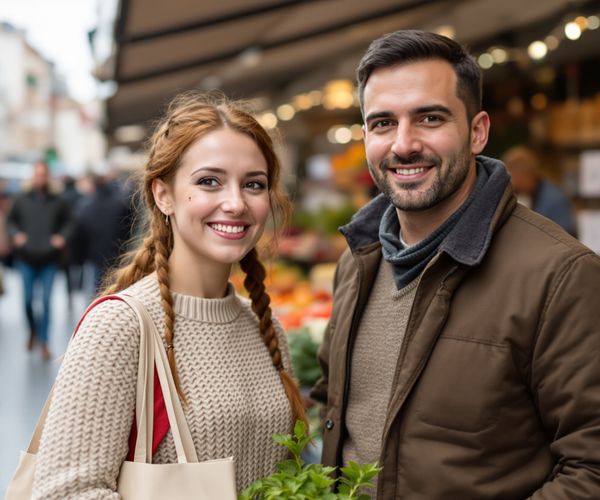
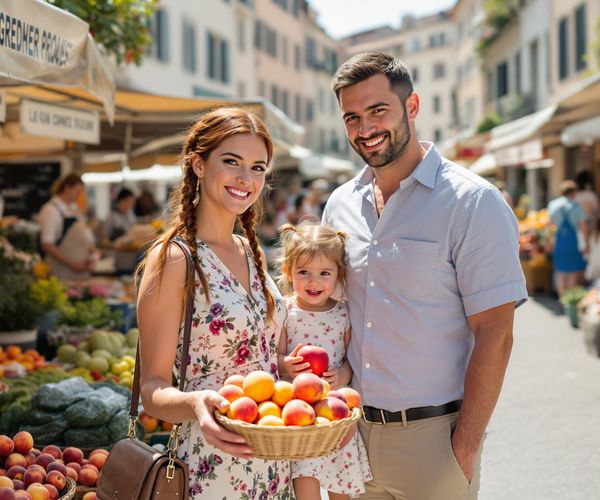
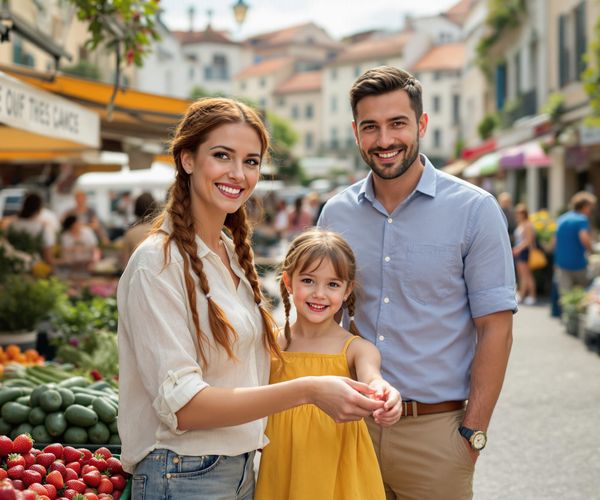
Adding a Human Touch: Capturing People and Culture
Including people in your travel photos can add scale, emotion, and cultural context. It can also help you tell a more complete story of your travels. But it's important to approach and photograph people respectfully.
Start by being friendly and approachable. Smile, make eye contact, and ask for permission before taking someone's photo. Most people are happy to be photographed, but it's always better to ask first. Learning a few basic phrases in the local language can go a long way in building rapport.
Portrait photography is a great way to capture the essence of a person. Try using wider apertures (like f/2.8 or f/1.8) to create a shallow depth of field and creamy backgrounds. This will help isolate your subject and make them stand out.
I've had some amazing experiences photographing locals in Lyon and other French towns. I've met so many interesting people and heard so many incredible stories. These interactions have enriched my travels and given me a deeper understanding of the local culture.
Remember to always get permission before photographing people, especially in more traditional or religious settings. Respect their wishes if they decline, and be mindful of cultural sensitivities.
Editing for Impact: Enhancing Your Travel Photos
Photo editing is an essential part of the photography process. It allows you to enhance your photos, correct any imperfections, and bring out the best in your images. But it's important to use editing tools judiciously and avoid over-processing your photos.
For beginners, I recommend using user-friendly editing apps like Lightroom and Snapseed. These apps offer a wide range of tools and features, but they're also easy to learn and use. You can adjust brightness, contrast, vibrance, and saturation to make your colors pop. You can also use tools like sharpening and noise reduction to improve the clarity of your images.
One of the most important things to do while traveling is to back up your photos regularly. Portable hard drives and cloud storage are great options for keeping your photos safe. I learned this the hard way when I lost a bunch of photos from a trip to Scotland because I didn't back them up. Now, I'm religious about backing up my photos every day.
My personal workflow for editing photos while on the road involves importing my photos into Lightroom on my laptop, making basic adjustments to brightness, contrast, and color, and then exporting them to my phone for sharing on social media. Simple adjustments can transform an image and make it truly stand out.
Practical tips on capturing stunning travel photos, regardless of your expertise. Learn about choosing the right gear, understanding lighting, composition techniques, adding a human touch, and editing for impact.