Planning and Preparation for Family Travel Photography
Before even packing our bags, the adventure begins with planning. I always start by researching our destination, not just for the best sights, but also for the potential photo opportunities. Think about iconic landmarks, hidden gems, and local events that could make for unique shots.
Lighting is everything, so I also try to figure out the best time of day to visit certain spots. For example, that charming bridge might look incredible during the golden hour. And, most importantly, I involve my family, especially Alessia. What are they excited to see? What kind of photos would they like to take? This not only builds anticipation but also ensures that everyone feels involved in creating our visual story.
Packing the right gear is crucial, but I'm also mindful of not overdoing it. My go-to is a versatile mirrorless camera with a zoom lens. It’s lightweight and easy to carry around. Don't forget extra batteries and memory cards! There's nothing worse than running out of space when you're finally capturing that perfect moment. I always make sure everything is charged and ready to go the night before we leave.
Mastering Natural Light for Stunning Family Photos
Forget fancy equipment; natural light is your best friend. Understanding how to use it can transform your family photos from ordinary to extraordinary. The golden hour, that magical time just after sunrise and before sunset, bathes everything in a warm, soft glow. It's perfect for portraits and landscapes alike. The blue hour, just before sunrise and after sunset, offers a cooler, more ethereal vibe.
Of course, you can't always control the weather. On sunny days, look for shade to avoid harsh shadows and squinting faces. Cloudy days, on the other hand, provide a beautiful, diffused light that's ideal for portraits. Indoors, position your subjects near a window to take advantage of soft, side lighting. I often use a white sheet as a makeshift diffuser to soften the light even further.
Capturing Candid Moments and Genuine Emotions
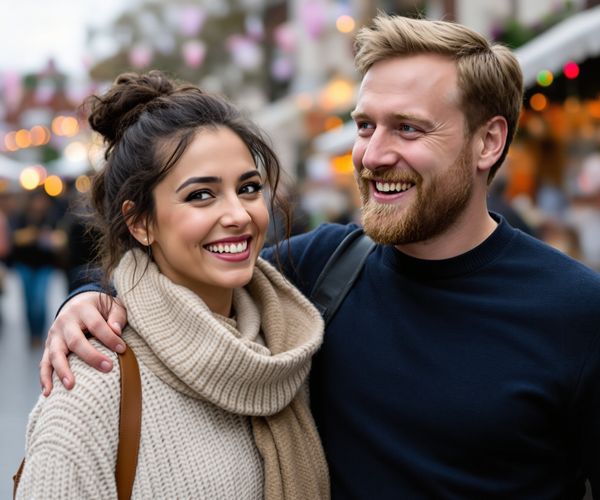
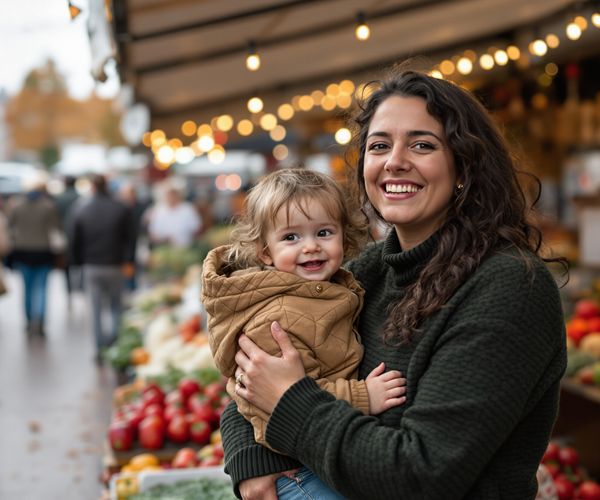
For me, the most precious travel photos are the candid ones – those spontaneous moments that capture the true essence of a trip. To achieve this, I try to blend into the environment and observe my family without being too intrusive. I'll often photograph them while they're engaged in activities, whether it's building sandcastles on the beach or exploring a bustling market.
Patience is key. Sometimes, you have to wait for the right moment to capture that perfect expression or interaction. And remember to respect people's personal space and cultural sensitivities when taking photos, especially in unfamiliar environments. Getting close to capture the atmosphere and tell a story is important, but not at the expense of others' comfort.
Composition Techniques for Visually Appealing Photos
A well-composed photo is more than just a snapshot; it's a work of art. One of the most basic, yet effective, techniques is the rule of thirds. Imagine dividing your frame into nine equal parts with two horizontal and two vertical lines. Place your subject at one of the intersections or along one of the lines to create a balanced and engaging image.
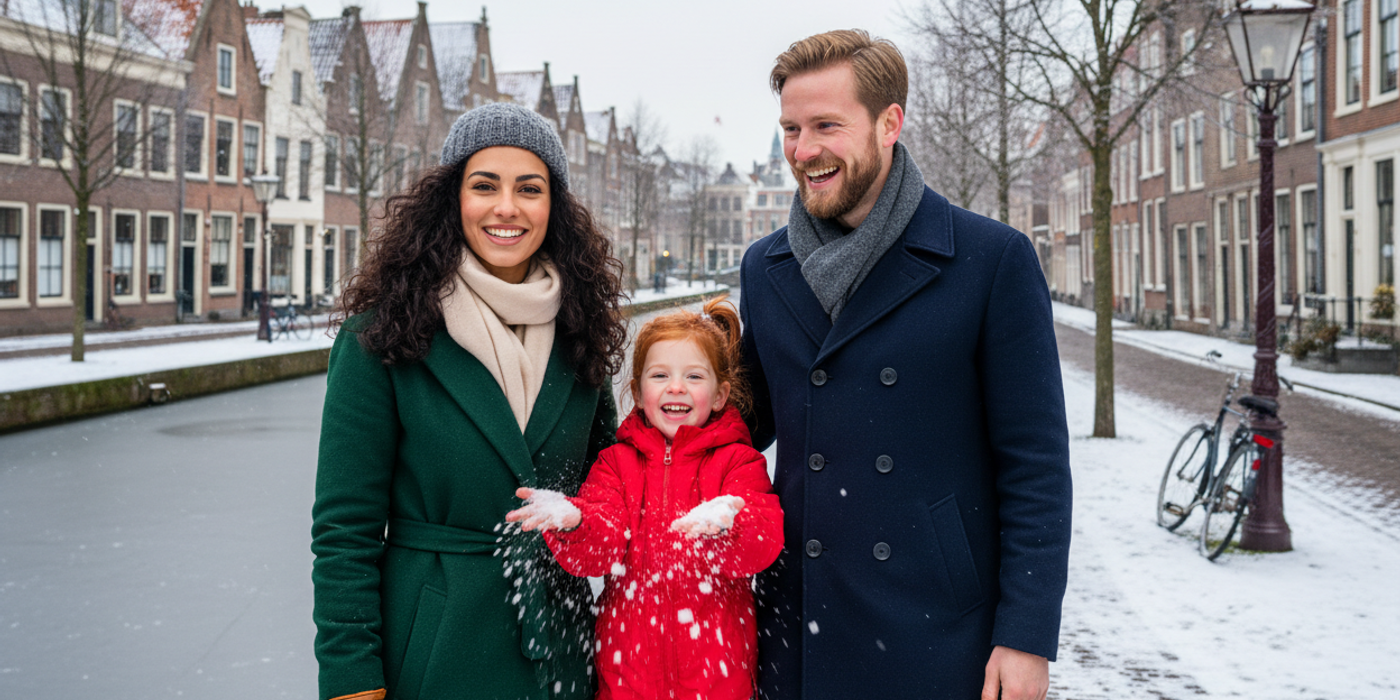
Leading lines, such as roads, rivers, or even rows of trees, can draw the viewer's eye into the photo and create a sense of depth. Experiment with different angles and perspectives to add visual interest. And don't forget to include environmental context to provide a sense of place. Show how vast the landscape is, and how tiny your family looks in comparison. It adds to the story.
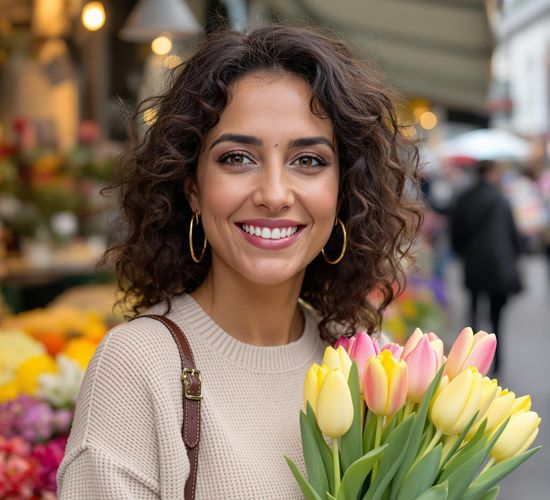
Focusing on details can also add depth and tell the story of the trip. A close-up of Alessia's hands covered in paint after an art workshop, or a shot of Pieter's worn-out travel journal – these are the little things that evoke memories and emotions.
Essential Camera Settings and Techniques
Understanding the exposure triangle – shutter speed, aperture, and ISO – is essential for taking control of your camera and capturing the images you envision. Shutter speed controls the amount of time the camera's sensor is exposed to light, aperture controls the size of the lens opening, and ISO controls the sensitivity of the sensor to light.
Experiment with different camera modes to find what works best for you. Manual mode gives you complete control over all settings, while aperture priority and shutter priority modes allow you to control one setting while the camera automatically adjusts the others. Adjust your settings based on the scenario. Use a fast shutter speed to freeze action shots, a wide aperture to create a shallow depth of field for portraits, and a low ISO to minimize noise in landscapes.
Shooting in RAW format preserves more image data than JPEG, giving you more flexibility when editing your photos. And consider using back-button focus for sharper images. This separates the focusing function from the shutter button, allowing you to focus on your subject and then recompose your shot without losing focus.
Post-Processing and Editing Tips
Even the best photos can benefit from a little post-processing. Editing software like Adobe Lightroom or Capture One can help you enhance colors, contrast, and sharpness. Start by correcting the exposure and white balance to ensure your images look natural and balanced.
Cropping and straightening images can improve their composition. Remove any distractions or blemishes that might detract from the overall image. And most importantly, organize and back up your photos after each day of shooting. There's nothing worse than losing precious memories due to a corrupted memory card or a lost device. I upload my photos to the cloud every night of the trip.
Essential photography tips for families traveling together. Learn how to capture candid moments, use natural lighting effectively, and the importance of including environmental context in photos.