Hey fellow travelers! Michael here, ready to share some tips on one of my favorite ways to document our adventures: photography. Whether you're scaling ancient ruins or just exploring a local market, capturing those memories is priceless. So, grab your camera (or phone!), and let's dive into how to take travel photos you'll cherish forever.
Choosing the Right Gear: More Than Just a Camera
When it comes to travel photography, the gear you choose can make a big difference. But don't think you need to break the bank! The best camera is often the one you have with you.
- Smartphones:
These are incredibly convenient and have come a long way in terms of image quality. The latest iPhones and Android devices boast impressive camera systems perfect for casual travel photography. They're great for spontaneous shots and easy sharing on social media. - DSLRs:
Digital Single-Lens Reflex cameras offer more control over settings like aperture and shutter speed. They're fantastic for capturing high-quality images, especially in challenging lighting conditions. Brands like Canon (EOS series) and Nikon are popular choices. - Mirrorless Cameras:
Mirrorless cameras are lighter and more compact than DSLRs, without sacrificing image quality. Sony's Alpha series is a well-regarded example. They offer excellent performance and versatility for travel.
Beyond the camera body, consider these essential accessories:
- Lenses:
A versatile zoom lens (like an 18-200mm) is great for covering a range of situations. A wide-angle lens is perfect for landscapes, while a prime lens (like a 50mm) excels in portraiture. - Tripods:
A lightweight travel tripod is crucial for sharp images in low light or for landscape photography. - Filters:
A polarizing filter can reduce glare and enhance colors, especially in landscapes. - Memory Cards:
Always carry extra memory cards! You don't want to run out of space at a crucial moment. - Camera Bags:
A comfortable and protective camera bag is essential for keeping your gear safe and organized.
Think about your travel style and budget. If you're backpacking through Southeast Asia, portability is key. If you're on a photography-focused trip to Iceland, you might want to invest in higher-end equipment.
Mastering Composition: Seeing the World Through a New Lens
Composition is how you arrange elements within your frame. It's what turns a snapshot into a compelling image. Here are a few techniques to keep in mind:
- Rule of Thirds:
Imagine dividing your frame into nine equal parts with two horizontal and two vertical lines. Place key elements along these lines or at their intersections. This creates a more balanced and visually appealing image. - Leading Lines:
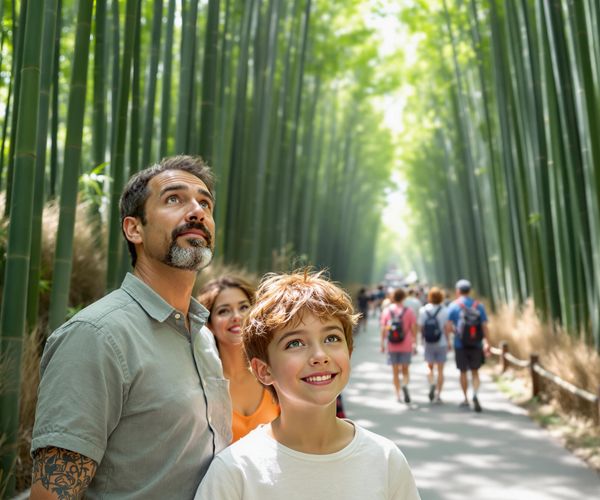
Use lines (roads, rivers, fences) to guide the viewer's eye into the scene. This adds depth and draws the viewer deeper into the photograph. - Symmetry:
Symmetrical compositions can be very striking, especially in architecture. Look for reflections or repeating patterns. - Framing:
Use elements like trees, arches, or doorways to frame your subject. This isolates the subject and adds context. - Negative Space:
The empty space around your subject can be just as important. It creates balance and draws attention to the main focus.
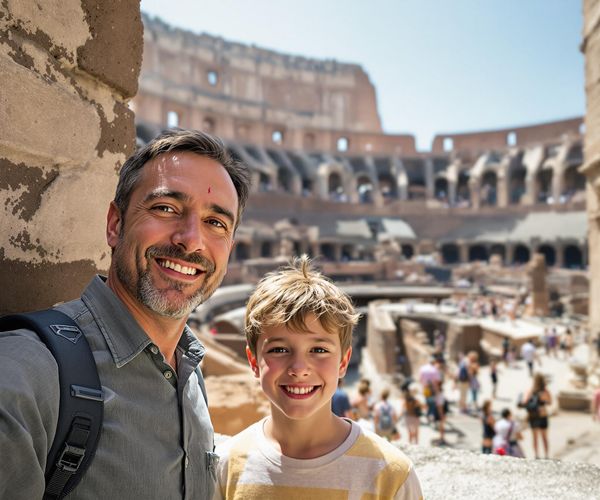
Don't be afraid to experiment with different perspectives. Try shooting from a low angle to make your subject appear larger and more imposing, or from a high angle to show the vastness of a landscape. Adding people into your landscape shots can give a sense of scale and add interest.
Understanding Light: The Key to Stunning Travel Photos
Light is everything in photography. It can make or break a photo. Here's what you need to know about using natural light to your advantage:
- Golden Hour:
The hour after sunrise and the hour before sunset. The light is warm, soft, and flattering. It's the best time for landscape and portrait photography. - Blue Hour:
The hour after sunset and the hour before sunrise. The light is soft, cool, and creates a magical atmosphere. It's great for cityscapes and architectural photography. - Midday Sun:
The harsh midday sun can create strong shadows and wash out colors. Try to shoot in the shade or wait for a cloudy day. - Overcast Days:
Overcast days provide soft, even lighting that's perfect for portraits and close-up shots. - Shadows and Highlights:
Use shadows and highlights to create depth and mood in your photos. Look for interesting patterns and textures created by light and shadow. - Fill Flash:
Use a fill flash to brighten up shadows in bright sunlight. This can help to balance the exposure and prevent your subject from being underexposed. - Reflective Surfaces:
Look for reflective surfaces like water, glass, or metal to bounce light and create interesting effects.
Capturing Authentic Moments: People, Culture, and Street Photography
Photographing people and cultures can be incredibly rewarding, but it's important to do so ethically and respectfully.
- Ethical Considerations:
Always ask for permission before photographing someone, especially in cultures where it's considered impolite. Be mindful of local customs and traditions. - Interacting with Locals:
Take the time to interact with locals and learn about their culture. This will help you to capture more genuine moments. A simple smile and a friendly gesture can go a long way. - Street Photography:
Capture the essence of a place through street photography. Look for interesting characters, scenes, and details that tell a story. - Respect Local Customs:
Be respectful and mindful of local customs and traditions. Dress appropriately and avoid photographing sensitive areas. - Blending In:
Try to blend in and avoid drawing unwanted attention while shooting in public places. Dress like a local and be discreet with your camera.
Post-Processing Essentials: Enhancing Your Photos Without Overdoing It
Post-processing is the final step in the photography process. It's where you can enhance your photos and bring out their full potential. Here are a few basic editing techniques to get you started:
- Photo Editing Software:
Adobe Lightroom, Snapseed (free and powerful mobile app), and VSCO are popular choices. - Exposure Adjustment:
Adjust the brightness of your photo. - Color Correction:
Adjust the white balance and color saturation to make your colors more accurate and vibrant. - Sharpening:
Sharpen your image to make it appear more crisp and detailed. - Noise Reduction:
Reduce noise (graininess) in your image, especially in low-light photos. - Subtle Editing:
The goal is to enhance, not alter, the natural look of your photos. Avoid over-editing, which can make your photos look artificial. - Consistent Style:
Develop a consistent style across your travel photos. This will help to create a cohesive and professional look. - RAW Format:
Shooting in RAW format gives you greater editing flexibility. RAW files contain more information than JPEG files, allowing you to make more adjustments without losing quality.
Michael Garcia shares his expert photography tips for capturing travel memories, from choosing the right gear to mastering composition and post-processing.