
As an antique restorer, I've always been fascinated by how objects tell stories. But a photograph? A photograph captures a moment in time, a fleeting emotion, a whole narrative in a single frame. Over the years, my travels with Marie and Thomas have become opportunities to document our adventures, and I've picked up a few tricks along the way. So, whether you're wielding a smartphone or lugging around a DSLR, here are some photography tips to help you capture your own travel memories.
Understanding Your Camera: Beyond Auto Mode
Let's be honest, most of us start with the 'Auto' setting. It's easy, it's convenient, but it rarely gives you the results you truly want. Whether you're using a DSLR, a mirrorless camera, or even your smartphone, understanding the basics can elevate your photography game. DSLRs and mirrorless cameras offer incredible versatility with interchangeable lenses, giving you more control over your images. Smartphones, on the other hand, are incredibly convenient and have come a long way in terms of image quality, often boasting impressive computational photography capabilities.
The key is understanding the exposure triangle: ISO, aperture, and shutter speed. ISO controls the sensitivity of your camera's sensor to light. A lower ISO (like 100 or 200) is ideal for bright conditions, minimizing noise and maximizing image quality. A higher ISO (like 3200 or 6400) is necessary in low light, but be aware that it can introduce graininess. Aperture refers to the opening in your lens that lets light through. It's measured in f-stops (e.g., f/2.8, f/8, f/16). A wider aperture (smaller f-number) creates a shallow depth of field, blurring the background and isolating your subject – perfect for portraits. A narrow aperture (larger f-number) creates a large depth of field, keeping everything in focus – ideal for landscapes. Shutter speed is the amount of time the camera's shutter is open, exposing the sensor to light. Fast shutter speeds (e.g., 1/500th of a second) freeze motion, while slow shutter speeds (e.g., 1 second) blur motion, creating a sense of movement.
For example, when I'm photographing the intricate details of a building in Antwerp, I use a narrow aperture (f/8 or higher) and a low ISO to ensure everything is sharp and clear. If I'm trying to capture the vibrant atmosphere of a flea market at dusk, I might increase the ISO and use a wider aperture to let in more light, even if it means a bit more noise in the image.
Composition Essentials: Framing the Perfect Shot
Composition is the art of arranging elements within your frame to create a visually appealing image. One of the most well-known principles is the rule of thirds. Imagine dividing your frame into nine equal parts with two horizontal and two vertical lines. Placing key elements along these lines or at their intersections creates a more balanced and engaging composition.
Leading lines are another powerful tool. These are lines within the scene that draw the viewer's eye towards the subject. They can be roads, rivers, fences, or even shadows. Symmetry and patterns can also create visually striking images. Look for repeating shapes, colors, or textures in your surroundings. And don't be afraid to experiment with different perspectives and angles. Try shooting from a low angle to make your subject appear larger and more imposing, or from a high angle to provide a broader view of the scene.
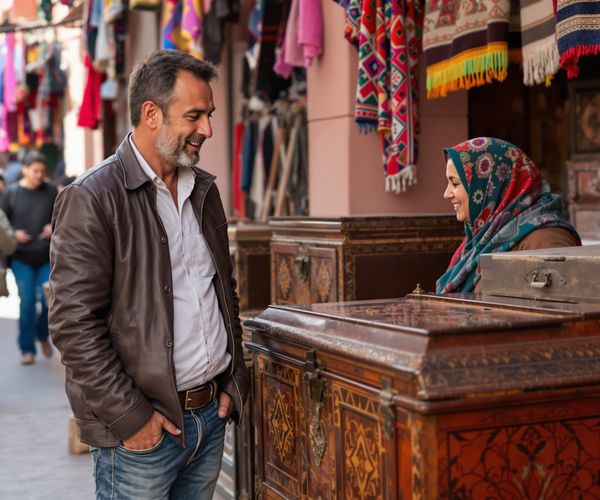
I remember once, while photographing the Grote Markt in Antwerp, I noticed how the cobblestone streets created leading lines towards the Brabo Fountain. By positioning myself to emphasize these lines, I was able to draw the viewer's eye directly to the fountain, making it the focal point of the image. {image1}
Light and Shadow: Mastering Natural Light
Light is arguably the most important element in photography. Understanding how to work with natural light can dramatically improve your images. The golden hour, the hour after sunrise and the hour before sunset, is renowned for its warm, soft light that flatters almost any subject. The blue hour, the period just before sunrise and after sunset, offers a cool, ethereal light that's perfect for capturing cityscapes and landscapes.
Direct sunlight can be harsh and create strong shadows. When shooting in direct sunlight, try to position your subject so that the light is coming from the side or behind them. Overcast days provide a soft, diffused light that's ideal for portraits. Shade can also be your friend, providing even lighting and preventing harsh shadows. If you're shooting in a challenging lighting situation, consider using a reflector or diffuser to manipulate the light. A reflector bounces light back onto your subject, filling in shadows, while a diffuser softens the light, reducing harshness.
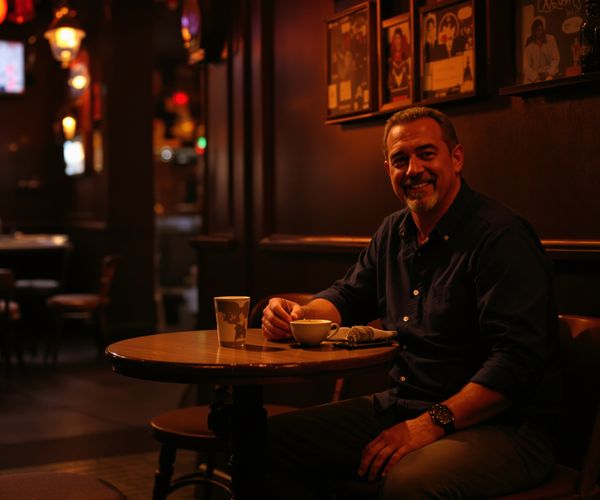
One time, while visiting a flea market in Brussels, I was struggling to capture the vibrant colors of the antiques due to the harsh midday sun. I used a white cloth as a makeshift diffuser to soften the light, allowing me to capture the true colors and textures of the objects without harsh shadows. {image2}
Capturing Authentic Moments: People and Culture
Photographing people and cultural events can be incredibly rewarding, but it's important to do so with respect and sensitivity. Always ask for permission before photographing someone, especially in cultures where it may be considered impolite. Engage with locals, show genuine interest in their lives, and be mindful of their customs and traditions. Telling a story through your photos is about capturing the details and emotions that make a place unique. Focus on the small things – a wrinkled hand, a colorful garment, a child's laughter – these are the details that will bring your photos to life.
During a trip to Morocco, I made an effort to learn a few basic Arabic phrases. This simple gesture opened doors and allowed me to connect with locals on a deeper level. I was invited to share tea with a family, and I was able to capture some truly genuine moments of their daily life. It's important to remember that you're a guest in their culture, and your behavior should reflect that.
Post-Processing Basics: Enhancing Your Images
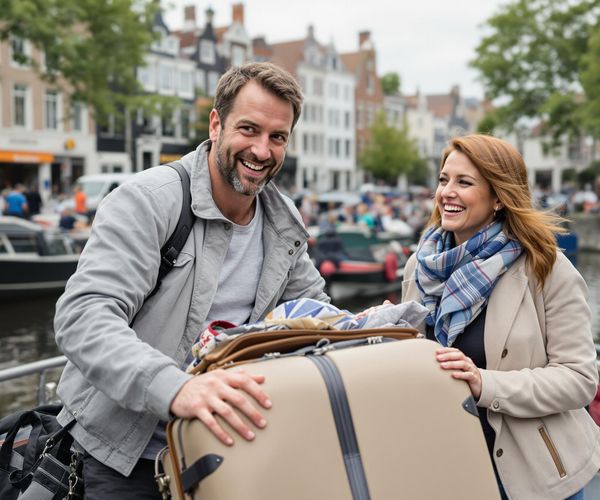
Post-processing is the final step in the photography process. It's a chance to enhance your images, correct any imperfections, and create a consistent style. There are many different editing software options available, from Adobe Lightroom to Snapseed. Lightroom is a powerful desktop application that offers a wide range of editing tools, while Snapseed is a free mobile app that's surprisingly capable. {image3}
The first step in post-processing is to adjust the exposure, contrast, and white balance. Exposure controls the overall brightness of the image. Contrast adjusts the difference between the light and dark areas of the image. White balance corrects any color casts, ensuring that the colors in your image are accurate. Cropping and straightening images can also significantly improve their composition. Cropping allows you to remove distracting elements from the frame, while straightening ensures that your horizons are level.
Filters and presets can be a quick and easy way to create a consistent style, but be mindful of over-editing. A little goes a long way. My preferred post-processing technique involves subtle adjustments to exposure, contrast, and white balance, followed by a slight sharpening to enhance details. I try to keep my edits as natural as possible, aiming to enhance the image without making it look artificial.
Enhance your travel photography skills with tips on composition, lighting, and capturing authentic moments. Perfect for both beginners and seasoned photographers.