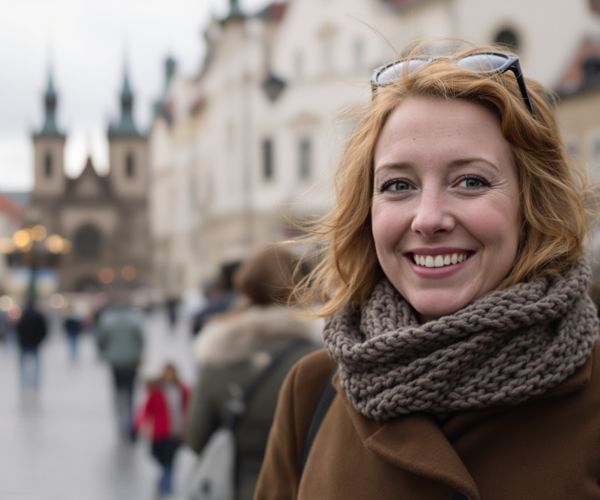

Food is more than just sustenance; it's a story, a culture, a memory waiting to be captured. As a freelance graphic designer and travel enthusiast, I've found that combining my love for photography with my passion for exploring the world's culinary scenes has been incredibly rewarding. Join me, Sophie Smith, as I share my tips and tricks for capturing the essence of local cuisines through travel photography.
Setting the Scene: Understanding the Story of Food
Before you even pick up your camera, take a moment to understand the cultural context of the food you're about to photograph. Food isn't just about taste; it's about history, tradition, and the people who make it. Understanding this context will inform your photographic approach and add depth to your images.
For instance, during my travels in Southeast Asia, I always made it a point to research the local cuisines beforehand. Whether it was learning about the origins of Pho in Vietnam or the intricate spice blends used in Thai curries, this knowledge helped me appreciate the dishes on a deeper level and capture their essence more authentically. I also find that interacting with local chefs and vendors is invaluable. Ask them about the ingredients they use, the preparation methods they follow, and the stories behind their dishes. Their insights will not only enrich your understanding but also provide you with unique angles for your photography.
Mastering Natural Light: The Food Photographer's Best Friend
When it comes to food photography, natural light is often your best friend. It's soft, flattering, and brings out the vibrant colors and textures of the dishes. While artificial lighting can be useful in certain situations, natural light is generally superior for creating mouthwatering food photos.
Experiment with different techniques for using and manipulating natural light. Reflectors can be used to bounce light onto your subject, filling in shadows and adding brightness. Diffusers, on the other hand, can soften harsh light, creating a more even and pleasing illumination. Finding the best light can sometimes be a challenge, especially in dimly lit restaurants or bustling markets. Look for windows, doorways, or any other openings that allow natural light to enter. Pay attention to the time of day, the weather, and your geographic location, as these factors can all affect the quality of the light.
One of my favorite food photos was taken in a small café in Italy. The natural light streaming through the window perfectly illuminated a plate of freshly made pasta, highlighting the rich colors of the tomato sauce and the delicate strands of spaghetti. It was a simple shot, but the natural light made all the difference.
Composition is Key: Arranging Your Culinary Canvas
Composition is another crucial element of food photography. Just like arranging ingredients on a plate, arranging the elements in your frame can make or break a shot. Understanding basic principles of composition, such as the rule of thirds, leading lines, and symmetry, can help you create visually appealing images.
Think about how you want to arrange the food in your shot. Consider the colors, textures, and shapes of the different elements. Use garnishes and props to enhance the story you're trying to tell. Don't be afraid to experiment with different angles and perspectives. Shooting from above (flat lay) can be great for showcasing the entire dish, while shooting from the side can highlight the textures and layers.
I've noticed a growing trend in food photography towards more minimalist compositions, with a focus on clean lines and negative space. This approach can be particularly effective for highlighting the beauty and simplicity of certain dishes.
Gear Essentials: What You Really Need in Your Camera Bag
While having the latest and greatest camera equipment can be tempting, you don't need to break the bank to take great food photos. The most essential piece of gear is, of course, a camera. Whether you're using a DSLR, a mirrorless camera, or even your smartphone, the key is to understand its capabilities and limitations.
In terms of lenses, a macro lens can be great for capturing close-up details, while a wide-angle lens can be useful for shooting in tight spaces. A tripod can help you keep your camera steady, especially in low-light conditions. And a reflector or diffuser can help you manipulate natural light to your advantage.
When traveling, it's important to choose equipment that is lightweight and versatile. I personally love using my smartphone for food photography, as it's always with me and takes surprisingly good photos. Just remember to clean the lens regularly and take advantage of the built-in editing tools.
Regardless of the gear you use, it's important to understand proper camera settings, such as aperture, shutter speed, and ISO. Experiment with different settings to see how they affect your images.
Capturing the Moment: Candid Shots and Culinary Action
While beautifully styled food photos are great, don't forget to capture the candid moments and culinary action that bring a dish to life. Photograph chefs preparing food, locals enjoying meals, and the overall atmosphere of the dining experience.
When photographing people, it's important to be respectful and unobtrusive. Ask for permission before taking someone's photo, and be mindful of their cultural norms. Try to capture genuine expressions and interactions, rather than staged poses.
Some of my most memorable food photos were taken in bustling markets in Morocco. The vibrant colors, exotic aromas, and lively energy of the market created a sensory feast that was a joy to capture. I focused on documenting the entire culinary process, from the vendors selling their wares to the chefs preparing the dishes to the locals enjoying their meals. It was a truly immersive experience that I'll never forget.
Remember to consider the ethical implications of photographing food and people in different cultures. Be sensitive to local customs and traditions, and always ask for permission before taking photos.
Post-Processing Perfection: Enhancing Your Images Without Overdoing It
Once you've captured your food photos, the next step is to enhance them through post-processing. Basic post-processing techniques, such as adjusting exposure, contrast, and color balance, can help you bring out the best in your images.
There are many different software and apps available for editing photos on the go. Some popular options include Adobe Lightroom, VSCO, and Snapseed. Experiment with different tools and find the ones that work best for you.
The key to successful post-processing is to maintain a natural look and avoid over-editing. Subtle adjustments can enhance the final image, but excessive editing can make the food look artificial and unappetizing. Pay attention to details such as sharpness, clarity, and noise reduction.
I always like to compare my before-and-after photos to see how my adjustments have affected the final image. It's amazing how subtle tweaks can make a big difference.
Finally, don't forget to back up and organize your photos. Create a system for storing and labeling your images so that you can easily find them later. Consider using cloud storage services or external hard drives to protect your photos from loss or damage.
Learn food photography tips from Sophie Smith, a travel enthusiast and graphic designer, on capturing culinary delights. Discover techniques on lighting, composition, and storytelling.