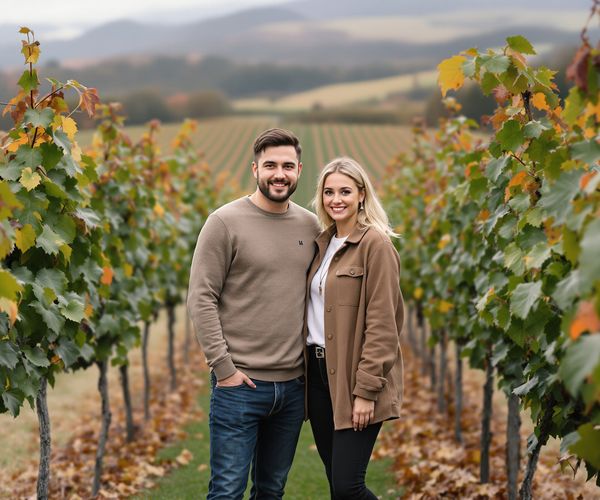
Hey fellow Evendo explorers! Matthew here, ready to share some insights from my photographic journeys. As a software developer by day and a travel blogger by… well, also by day (thanks to the flexibility of remote work!), I've learned that capturing the essence of a place through photography is an art form. It's about more than just pointing and shooting; it's about storytelling, preserving memories, and sharing the beauty of our world. So, grab your camera, and let's dive into some tips to help you master travel photography!
Gear Essentials for Travel Photography
Alright, let's talk gear. Now, I'm not one for lugging around a ton of equipment. I prefer a more compact setup – something that won't weigh me down as Lena and I explore those charming European cobblestone streets or hike up scenic trails. My go-to is usually a mirrorless camera because it gives me great quality without the bulk. But a good DSLR will also do the trick!
When it comes to lenses, versatility is key. For landscapes, a wide-angle lens (around 16-35mm) is fantastic for capturing those sweeping vistas. For street photography and portraits, a 35mm or 50mm prime lens is perfect – they're sharp, relatively small, and great in low light. And for those times when you need to zoom in on distant details, a telephoto lens (70-200mm) can be a lifesaver.
Don't forget the accessories! A sturdy travel tripod is essential for those stunning sunrise/sunset shots or for long exposures. Polarizing filters are great for reducing glare and enhancing colors, especially in landscapes. Neutral density (ND) filters are useful for shooting in bright conditions and achieving motion blur effects. And, of course, a good camera bag is crucial for protecting your gear while you're on the move. I personally recommend Peak Design or Wandrd, they offer great protection and are comfortable to carry around.
Mastering Camera Settings for Different Travel Scenarios
Understanding your camera settings is crucial for capturing the best possible images. One of the most important things I have learned is to shoot in RAW format. Shooting in RAW gives you so much more flexibility when it comes to post-processing. You can recover details in highlights and shadows that would be lost in a JPEG file.
Let's break down some common travel scenarios:
- Sunny Landscapes: Use a low ISO (100-200) to minimize noise, a smaller aperture (f/8-f/16) for greater depth of field, and a faster shutter speed to avoid overexposure. A polarizing filter can also help reduce glare and boost colors.
- Low-Light Environments: Increase your ISO (but be mindful of noise), use a wider aperture (f/1.8-f/2.8) to let in more light, and slow down your shutter speed (but use a tripod to avoid blur).
- Action Shots: Use a fast shutter speed (1/500s or faster) to freeze motion, set your camera to continuous shooting mode, and use autofocus tracking to keep your subject sharp.
Understanding aperture, shutter speed, ISO, and white balance is essential. Aperture controls the depth of field, shutter speed controls motion blur, ISO controls sensitivity to light, and white balance ensures accurate colors. Experiment with these settings and see how they affect your images. Don't be afraid to make mistakes, that is how we learn!
Composition Techniques for Stunning Travel Photos
Composition is what separates a snapshot from a work of art. There are several techniques that can help you create more visually appealing images.
- Rule of Thirds: Imagine dividing your frame into nine equal parts with two horizontal and two vertical lines. Place key elements along these lines or at their intersections to create a balanced and interesting composition.
- Leading Lines: Use lines (roads, rivers, fences) to draw the viewer's eye into the scene and create a sense of depth.
- Symmetry: Look for symmetrical scenes (buildings, reflections) to create a sense of balance and harmony.
- Framing: Use elements in the foreground (trees, arches, doorways) to frame your subject and add depth to the image.
Foreground elements can add depth and interest to your photos. Look for rocks, flowers, or other objects that you can place in the foreground to create a sense of scale and perspective. Capturing a mix of close-up, mid, and wide shots is also important for telling a complete story. Start with a wide shot to establish the scene, then move in for mid shots to capture details, and finally, get close-ups to focus on specific subjects or emotions.
Capturing the Essence of a Place: Storytelling Through Images
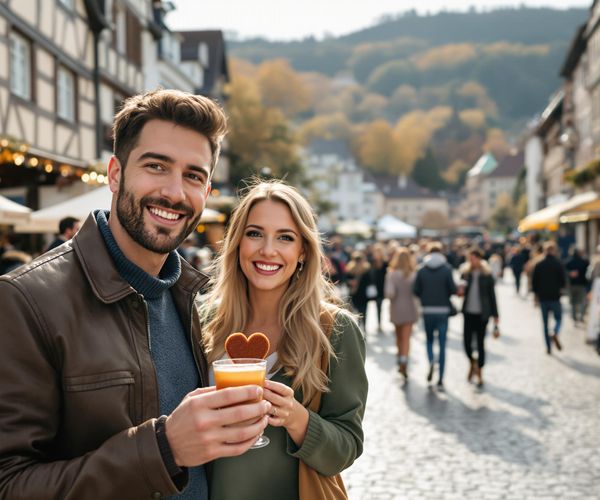
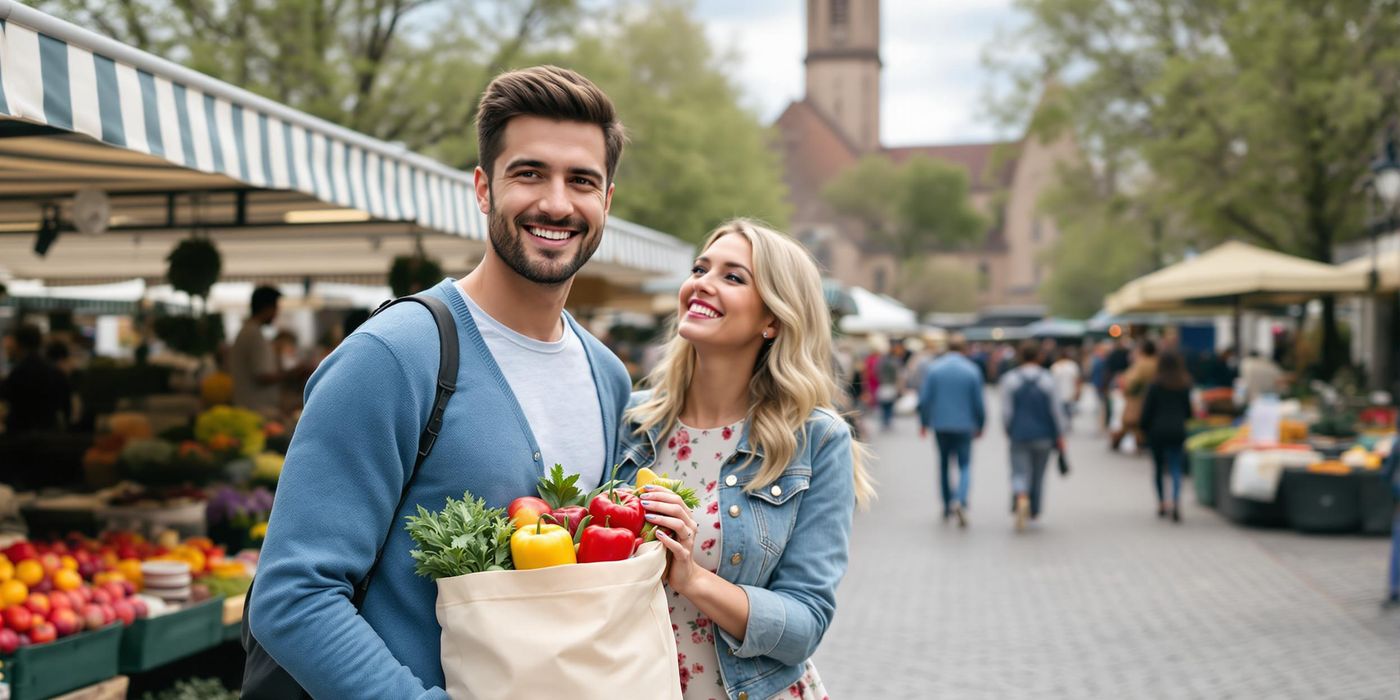
Travel photography is about more than just pretty pictures; it's about capturing the essence of a place and telling its story. Focus on local culture, people, and landmarks. Visit local markets, attend festivals, and interact with locals to get a sense of the place's unique character.
Adding a human element to your photos can give them scale and relatability. Photograph people in their natural environment – whether it's a fisherman casting his net or a child playing in the street. Always ask for permission before taking someone's photo, and be respectful of their culture and customs.
Before you go, do some research on your destination. Read travel blogs, look at photos online, and talk to people who have been there before. This will help you identify unique photo opportunities and plan your shots. But also be open to spontaneous moments and unexpected encounters – those often make for the best photos.
Editing Techniques to Enhance Your Travel Photos
Editing is an essential part of the photography process. It allows you to fine-tune your images and bring out their full potential. Start with basic adjustments like color correction, sharpening, and noise reduction. Adjust the white balance to ensure accurate colors, increase the contrast to add punch, and sharpen the image to bring out details. Be careful not to overdo it – the goal is to enhance the image, not to make it look artificial.
There are many user-friendly editing software and apps available for both beginners and advanced users. Adobe Lightroom and Capture One are popular choices for desktop editing, while Snapseed and VSCO are great options for mobile editing. Experiment with different software and find what works best for you.
Spot removal tools can be used to remove distractions like dust spots, power lines, or unwanted objects. AI-powered tools can also help enhance images by automatically adjusting colors, contrast, and sharpness. Again, use these tools sparingly and with a critical eye. The goal is to enhance the image, not to create a fake or unrealistic representation of the scene.
So there you have it – some essential tips for mastering travel photography. Remember, the most important thing is to have fun and experiment. Don't be afraid to try new things and make mistakes. The more you practice, the better you'll become. Happy shooting!
Essential travel photography tips to capture memorable moments, focusing on composition, lighting, and storytelling through images.